PHOTOSHOP INK BRUSHES FOR CREATIVES
- Marius Els

- Jul 10, 2023
- 2 min read
Updated: Jul 17, 2023

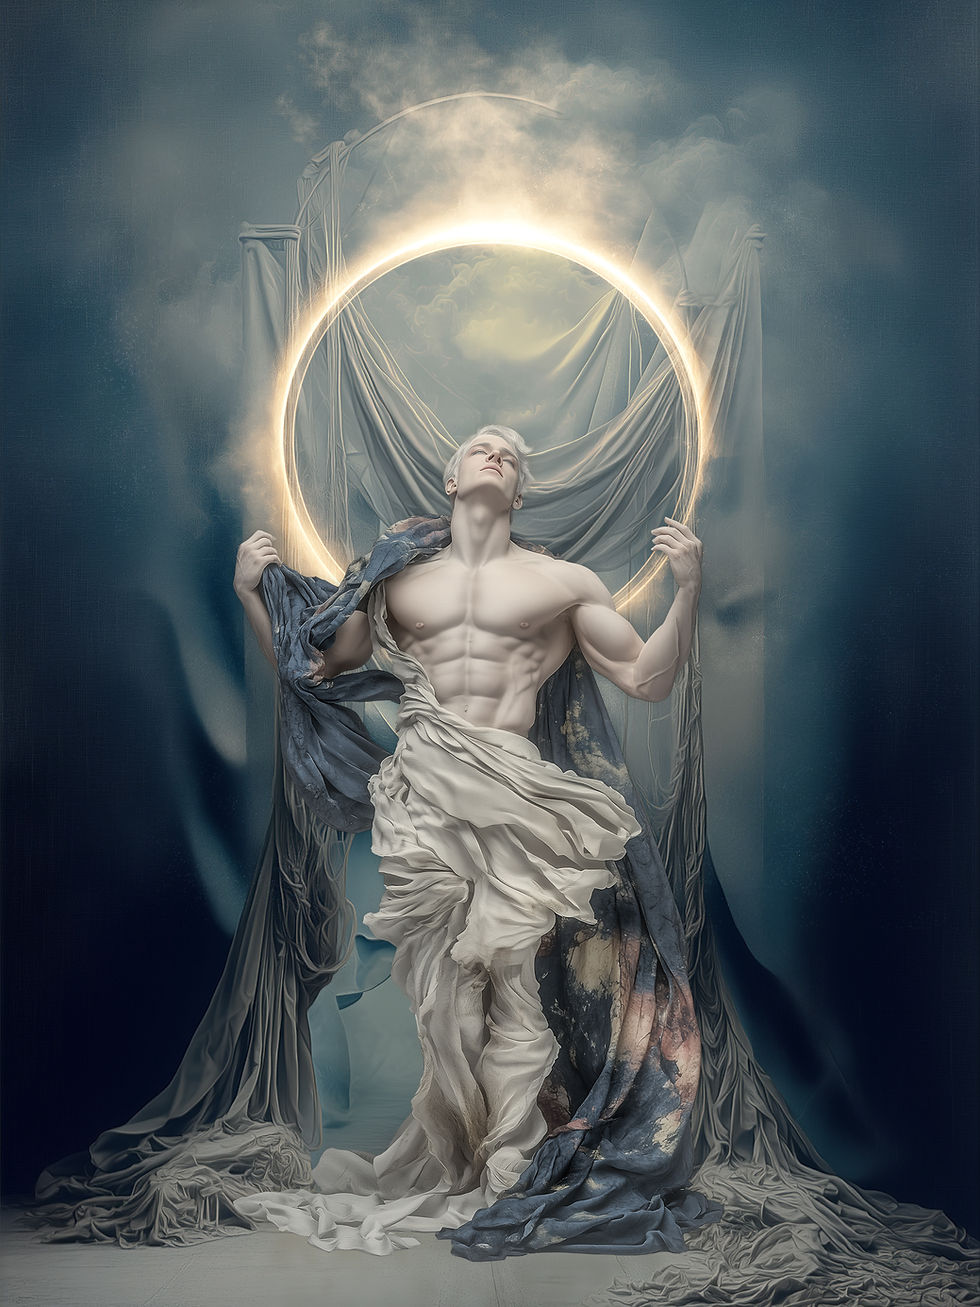
"The Attitude of Wings" is a series of digital artworks that emerged from my exploration of AI prompts in Midjourney. Intrigued by the results, I delved into this technique a few months ago and have been captivated ever since. However, fine-tuning prompts for Midjourney to achieve specific elements for my digital collages and montages can prove time-consuming.
These characters took shape over the course of several days, as I continuously refined prompts to alter aspects like head positions or choosing a character to take forward to the next stage. Throughout this creative journey, I discovered that understanding Midjourney's response to prompts required patience and a learning process.

The Attitude of Wings
After bringing my synthetic characters to life, I started the next phase by transforming separately prompted splatter, paint, and ink brushes generated by AI into brush tools within Photoshop. This step proved to be very exciting, as I witnessed the emergence of these painterly brushes that seamlessly integrated into my creative arsenal.
Inspired by this process, I've been motivated to share these elements and brushes on my website, offering them at a highly reasonable price. I believe that these resources shouldn't go to waste, and excited to share these with fellow creatives, understanding the value of having a readily accessible arsenal when inspiration strikes. Moreover, the sales generated from these offerings can help offset the costs of the Midjourney subscription, which can be quite significant.
If you are interested in this collection, please follow the link and have a browse. If you find the collection inspiring or have any ideas to share, I await your feedback in the review box located beneath the sales window.
The shop has undergone thorough testing, ensuring a flawless browsing and purchasing experience. However, should you encounter any unforeseen issues, please let me know via the contact form.
I am looking forward to share more elements in the future.
Here are some helpful tips for utilizing Bad Boy Ink Photoshop Brushes effectively:
Brush Opacity and Flow: Adjust the opacity and flow settings to control the intensity and transparency of the ink strokes. Experiment with different levels to achieve the desired effect, from subtle and delicate to bold and expressive.
Brush Size and Hardness: Vary the brush size and hardness based on your specific needs. Adjust the hardness for sharp or soft edges, depending on the desired style.
Layering and Blending Modes: Experiment with layering multiple brush strokes on separate layers. Utilize blending modes such as Multiply, Overlay, or Soft Light to blend the ink strokes with the underlying artwork or create interesting effects.
Texturing and Splatters: Explore how these elements can add visual interest and create unique textures within your artwork. Adjust the brush settings or combine different brushes to achieve the desired level of texture.
Practice and Experiment: Take time to practice using the ink brushes and explore their versatility. Experiment with layer combinations to discover new possibilities and develop your own unique style.
Remember, mastering any artistic tool requires patience, experimentation, and practice. Enjoy the process of exploring these ink brushes.


Comments